BI Reports
This section describes the procedures required to include the BI Reports source files, reset defaults, download optional connectors, and open search results with the desired viewer / editor.
Report files can be physically stored in one of three Locations:
- Local or network folders.
- Report Scheduling database repositories, such as SAP BusinessObjects Enterprise Server or a SQL Server Reporting Services database.
- Version control system repositories, such as git, TFS, etc.
To include selected report type files in a Project, you must also select and configure one or more of the possible locations these corresponding files can be stored within.
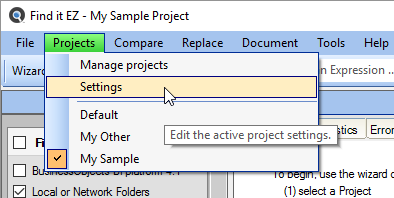
To access project settings for BI Reports:
-
Edit the active project using the menu.
-
In the frame on the left, in the File Type category, locate the BI Reports sub category.
Note: You may access the same dialog box with a simple right-click on the desired report utility in the expanded Source panel on the left of the main application screen.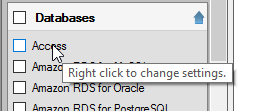
-
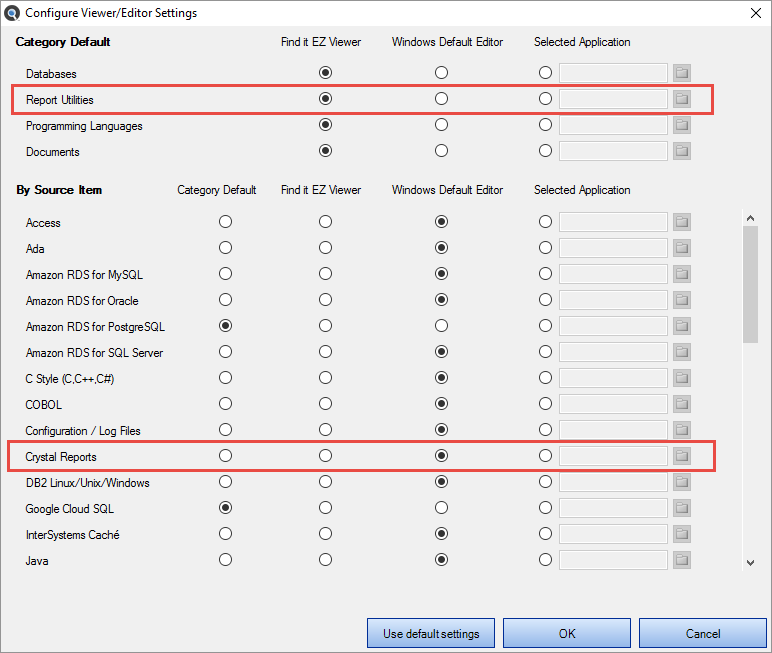
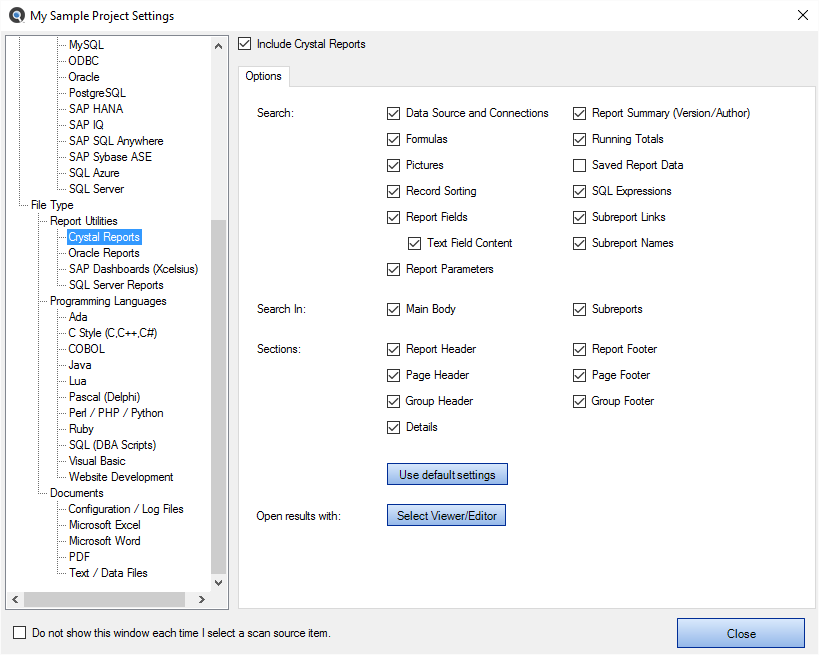
Click on the desired report utility. In the example below, we have selected the Crystal Reports report utility:
 Note: The button resets the sections and search items to the most common used program settings.
The steps required to configure individual settings for each report utility are similar to other file type source items. Each report utility uses a unique document model to organize and manage code and content design. For BI report designers familiar with each tool, these report sections and page layout areas will be familiar. You may include all or a subset of these items to limit the scope of document contents indexed and/or searched.
To specify the viewer / editor with which you want to open search results for the selected report utility, locate the Open Results With field and click on the corresponding button.