Download Connectors
Source items that require a connector will appear with a small warning icon preceding the name. See example below:
![]()
Click on the source item / warning to download the associated connector.
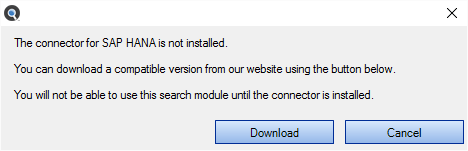
If you try to initiate a search that includes a selected source lacking a required connector, an error message will be generated. See example below:
From the Program:
-
From the Find it EZ menu, select .
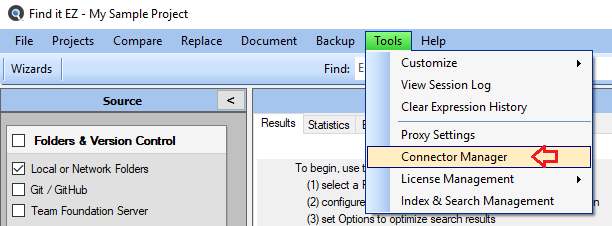
A Connector Manager dialog will appear.
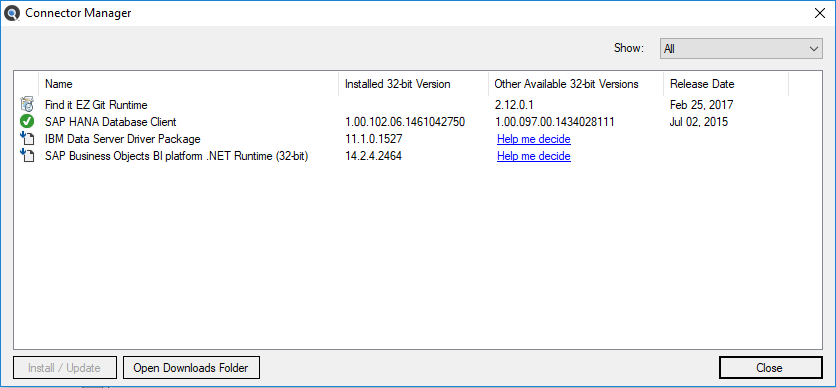
- Optionally select one of the Show drop down options to filter the list. For example, selecting the option Missing will display a list of required connectors that have not yet been installed based on the source items you have configured using the Configuration Wizard.
Note: Items with a check-mark icon
 next to them indicate you have the minimum or newer connector version detected as already installed on your system.
 -
Click on any one of the items with an install icon
 then click the button. The connector will begin downloading.
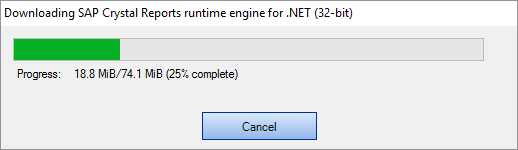
- Once downloaded, a Find it EZInstallShield Wizard will appear.
- Click on the button.
- Read and follow the instructions provided.
- When complete, click on the button.
- OR, click on any one of the items with a download compatible version icon
 , then click the button or hyperlink for that item. This will launch your browser and open a page on the Find it EZ Software Corp. website to help you select the correct version of the connector based on other related software installed on your workstation. For example, clicking on the "IBM Data Server Driver Package" for the required DB2 connector will take you to this page, see below:
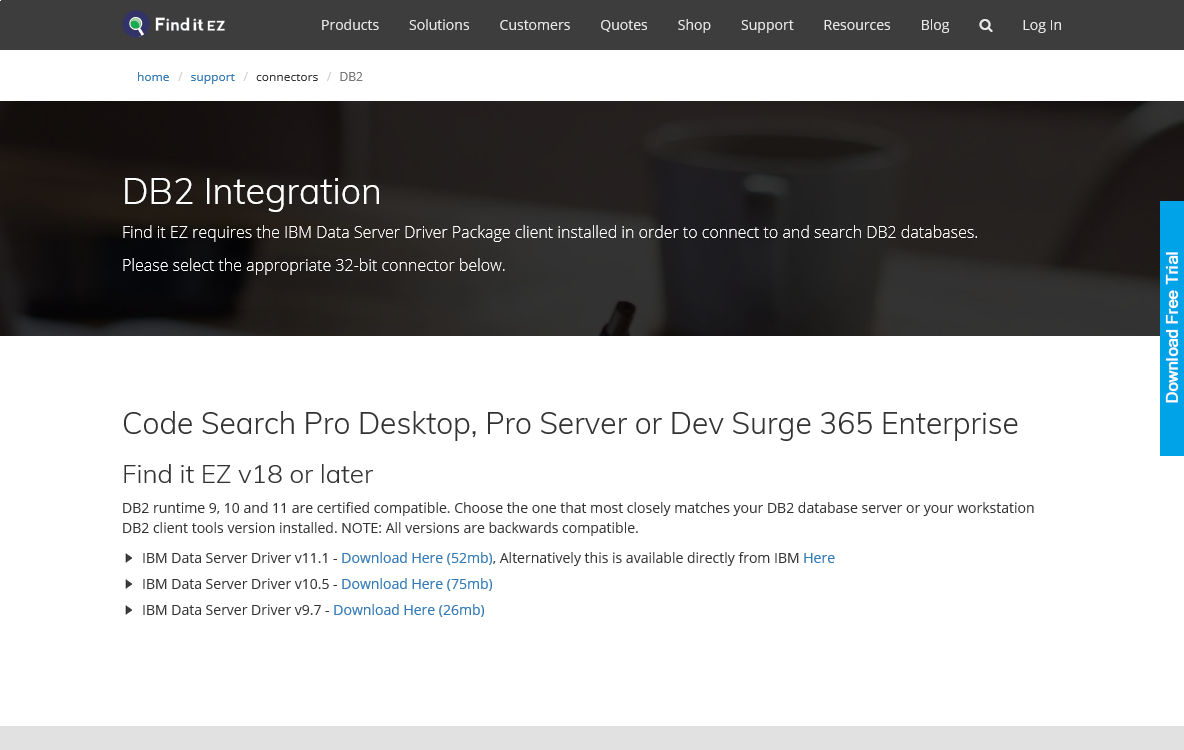
- Follow the instructions on the website page to select, then download and chose to either save or run the corresponding setup package depending on your browser and network security permissions. Note: If you chose to save the setup package to your local system, you will then need to locate and run it with administrative rights once the download completes successfully.
Tip: The button will contain all downloaded Find it EZ setup packages within this default path: C:\ProgramData\Bits n Bytes Software Inc\Installers . To keep all related downloads organized for re-use, it is recommended that you save these "version compatible" connector setup packages to this specific folder location as well.
On the Website:
- Log in to your Find it EZ Member Account.
-
Click to select the Software Downloads tab. A list of product releases and optional connectors will appear.
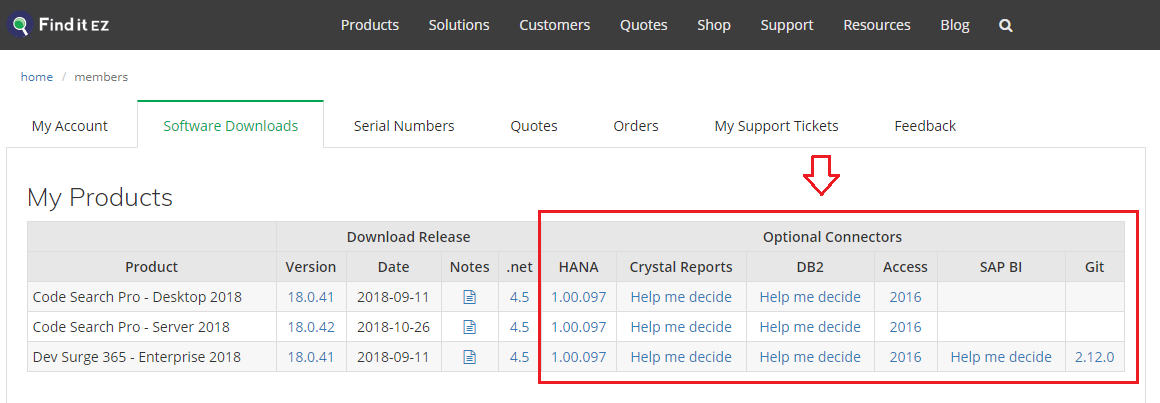
- Locate the product release for which you want to download a connector.
-
In the Optional Connectors section of the table, click on the corresponding hyperlink in the desired connector column. For all hyperlinks that do not contain the text Help me decide, a Connector Details dialog box will appear. See example below:
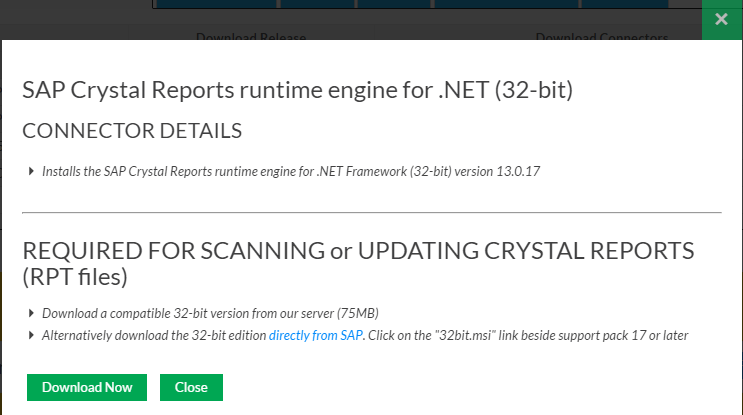
- To download the selected version from the Find it EZ server, click on the button. OR,
- Where applicable, to download the selected version directly from Microsoft (i.e. Access) or directly from SAP (i.e. Crystal Reports), click on the directly from Microsoft or directly from SAP link, respectively. See example above.
- The connector will begin downloading.
- Once downloaded, a Find it EZ InstallShield Wizard will appear.
- Click on the button.
- Read and follow the instructions provided.
- When complete, click on the button.
-
To close the Connector Details dialog box, click on the Close or button.
- OR, in the Optional Connectors section of the table, if you chose any connector with the hyperlink text Help me decide, a website page will display with instructions to guide you through selecting a compatible version depending on related software that may be installed on your workstation or network environment. See example below:
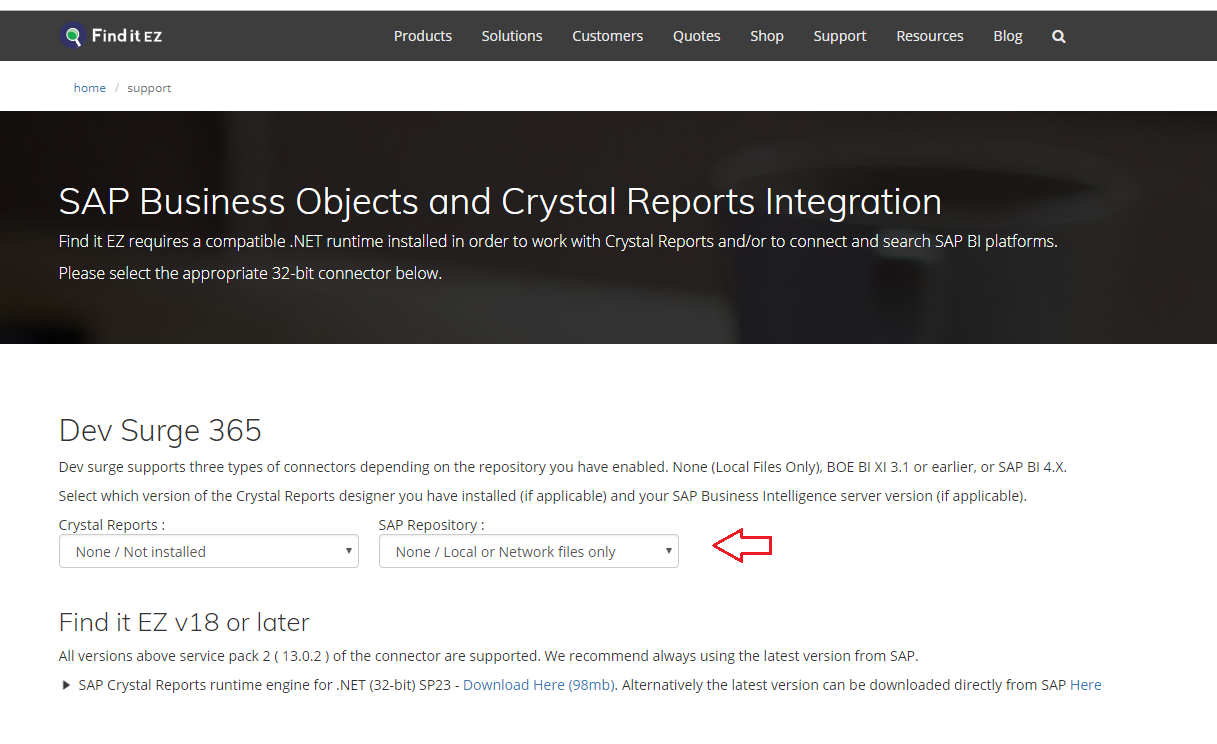
- Follow the instructions on the web page to filter the recommended compatible version of the connector to be installed.
- Once the recommended connector download link is displayed, click to download and chose to either save or run the corresponding setup package depending on your browser and network security permissions. Note: If you chose to save the setup package to your local system, you will then need to locate and run it with administrative rights once the download completes successfully.