Projects
This section provides step-by-step procedures to add, edit, switch, clone, rename, set active, delete, or save a project and its settings.
Projects are used to configure and store paths and connection information for a collection of source code files. These settings are retained for re-use between sessions, and can also be used to filter a small subset of items to be included in a project, compare or documentation run. Each project or collection is generally configured in relation to how your development process flows. For example, in a waterfall development process, you would typically have planned releases, each with a corresponding set of individual unit and an integration test environment. There is often also a staging environment for a frozen set of releases where final user acceptance testing is performed, followed by a production environment. Each environment will have unique underlying database host, reports, programming language files and so-on.
One common way to use Find it EZ projects is to set up a distinct collection of settings for each such environment or release. You can then quickly switch between or compare files within these unique projects as you move through the design, development, migration, and production support processes.
Projects are a key feature for organizing your work within Find it EZ, and the ability to configure each once, and then re-use settings between indexing and search passes, is a huge time saving benefit.
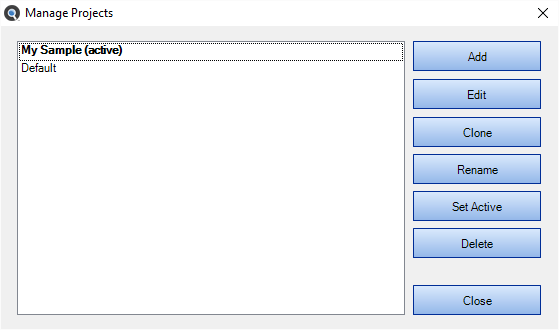
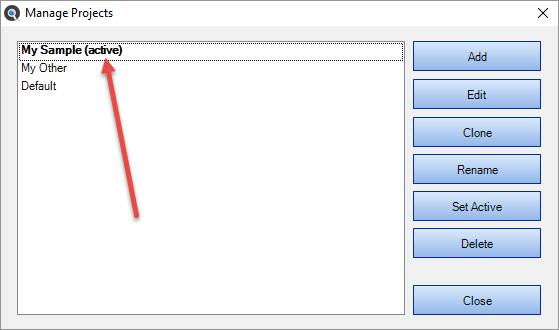
From the Find it EZ menu, select . The Manage Projects dialog box will appear, as below:
Add a New Project
-
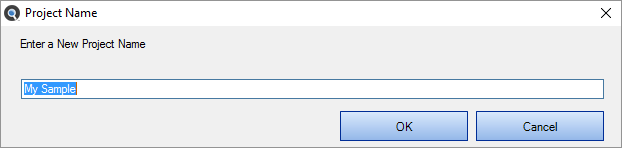
From the Manage Projects dialog box, click on the button. A dialog will appear.
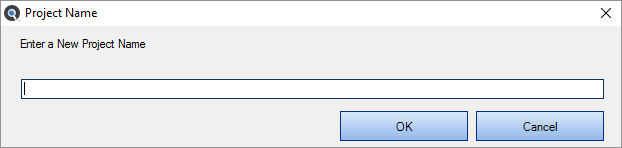
- Enter the name of the new project.
- Click on the button. The new project will be added to the list.
- To close the Manage Projects dialog box, click on the button.
Edit a Project
You may change the configuration settings to add a new file path, add a new database schema or owner to include that set of objects, add file or database object filters and so on.
- From the Manage Projects dialog box, in the projects list, click to highlight the project you want to edit.
-
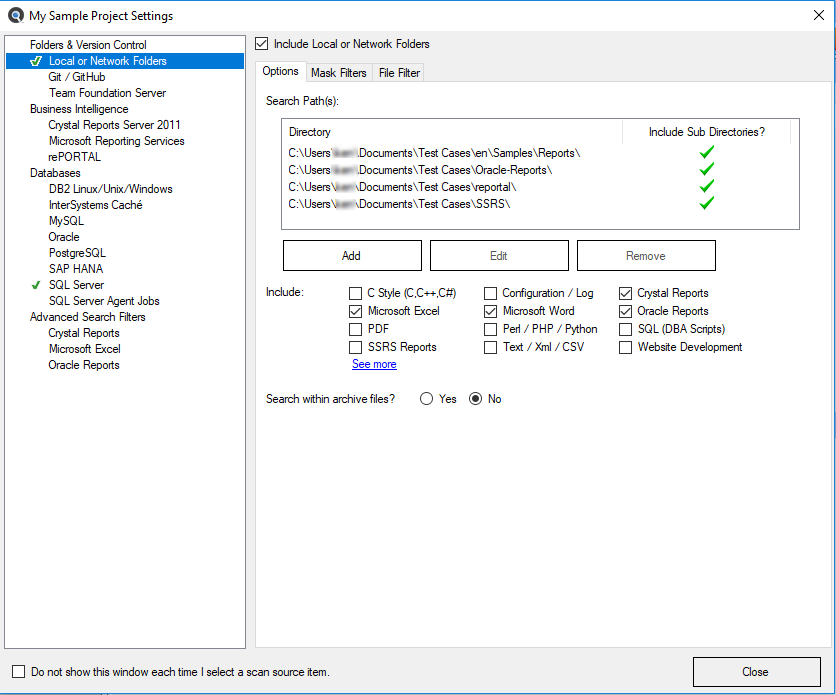
Click on the button. The Project Settings dialog box will appear. See example below:
Switch Between Projects
-
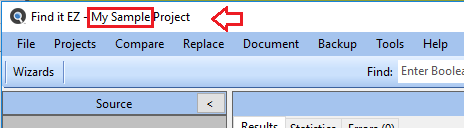
The name of the currently viewed project is shown in the top, left corner of the main screen Title Bar. See below:
- To switch to another project:
From the Find it EZ menu, select .
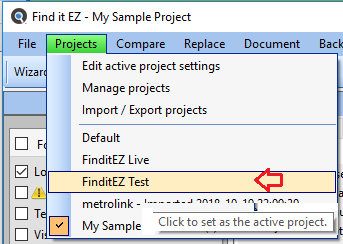
The selected project settings will be loaded for use.
Another way to select a saved project settings for use is to use the Project Management dialog box:
- From the Manage Projects dialog box, click to select the name of the project you want to set as the active project.
-
Click on the button. The project will appear in the list followed by the word "(active)."
- To close the Manage Projects dialog box, click on the button.
Clone a Project
A quick way to set up a new project is to clone ( copy ) an existing one, then update individual source configuration settings as needed.
- From the Manage Projects dialog box, click to select the project you want to clone (i.e. copy all settings).
-
Click on the button. A dialog will appear.
- Enter a different name for the new, cloned project.
- Click on the button. The cloned project will be added to the list.
- To close the Manage Projects dialog box, click on the button.
Rename a Project
- From the Manage Projects dialog box, click to select the project of which you want to change the name.
-
Click on the button. A dialog will appear.
- Change the name, as desired.
- Click on the button. The renamed project will appear in the list.
- To close the Manage Projects dialog box, click on the button.
Delete a Project
-
From the Manage Projects dialog box, click to select the name of the project you want to delete.
Note: The active project cannot be deleted. - Click on the button. The selected project will be immediately removed from the list.
- To close the Manage Projects dialog box, click on the button.