Show or Hide Source Items
This section describes how you can add ( show ) source items to correspond to technologies, programming languages, databases and reporting tools used in your work environment. Source items can be added in one of two ways.
- While configuring project or wizard settings for source locations.
- Using the Configuration Wizard.
You can add ( show ) source file types while updating the advanced configuration settings on any of the file source location panels. For example, right-click on the Local or Network Folders item in the main Find it EZ window Source panel to launch the advanced configuration settings:

Click on the See more hyperlink to view all supported document types for this location. The list will be expanded to allow you to select additional source items currently hidden.

If you check any source item that was previously hidden, this new setting will automatically be saved so that the selected document type will now be visible in all configuration panels or wizards. The checked source setting(s) will be enabled under the Configuration Wizard individual components tab and will automatically update and be saved to your custom program settings.
Source items visibility can also be set via the Configuration Wizard. Source items selected will be reflected in both the main application (Source panel) and all Find it EZ wizards. In addtion to "showing" new source items, the Configuration Wizard allows you to hide items that are not required. This allows you to customize and clean your Find it EZ workspace and minimize unnecessary items from being displayed on the main Source panel or within any of the wizards.
To access the Configuration Wizard, from the Find it EZ menu, select .
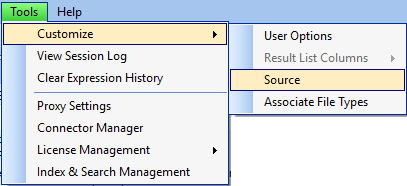
The Source Items dialog box will appear, as below:
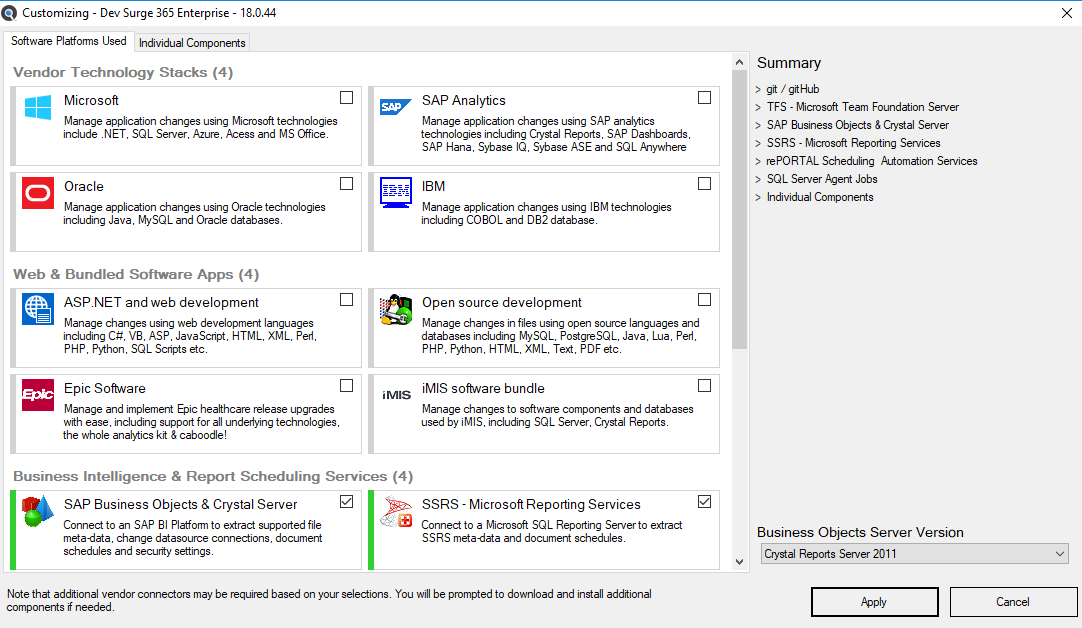
Refer to the Configuration Wizard section of this user guide for more information.
See Also: