Documents
This section describes the procedures required to include the documents source in a project, add or remove file extensions searched, open results with the desired viewer / editor, and select Microsoft Excel search scope options (where applicable).
Application logs, data files and office documents can be physically stored in one of two Locations:
To include selected documents in a Project, you must also select and configure one or more of the possible locations within which these corresponding files can be stored.
To access project settings for documents:
-
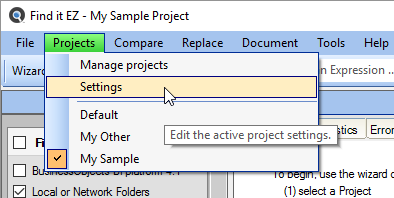
Edit the active project using the menu.
-
A Project Settings dialog window will appear as below.
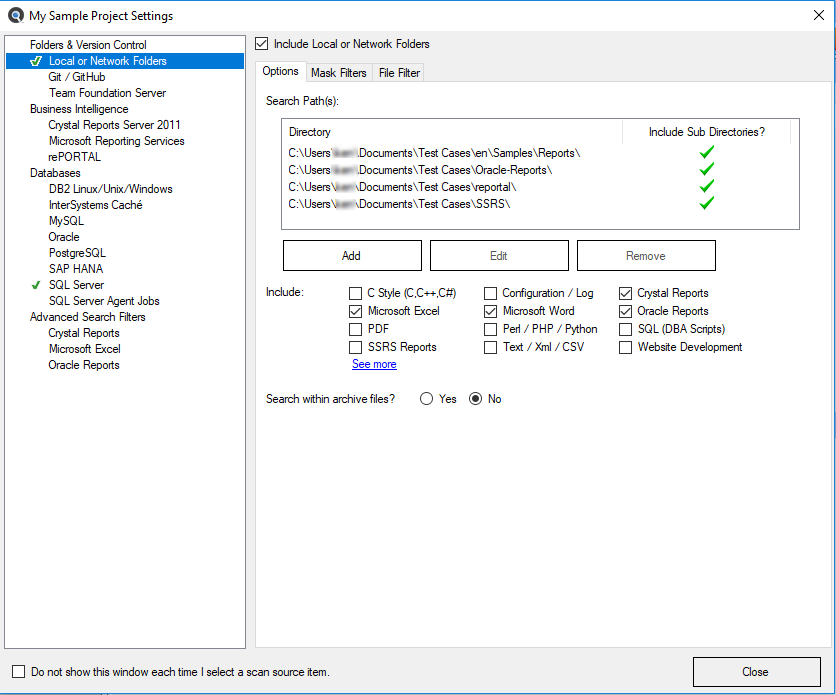
Note: You may access the same dialog box with a simple right-click on the desired document type in the expanded Source panel on the left of the main application screen.
- In the tree list on the left, locate the Advanced Search Filters sub category.
-
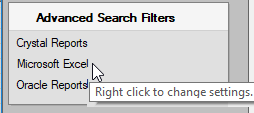
Click on the desired document type. In the example below, we have selected the Microsoft Excel document type:
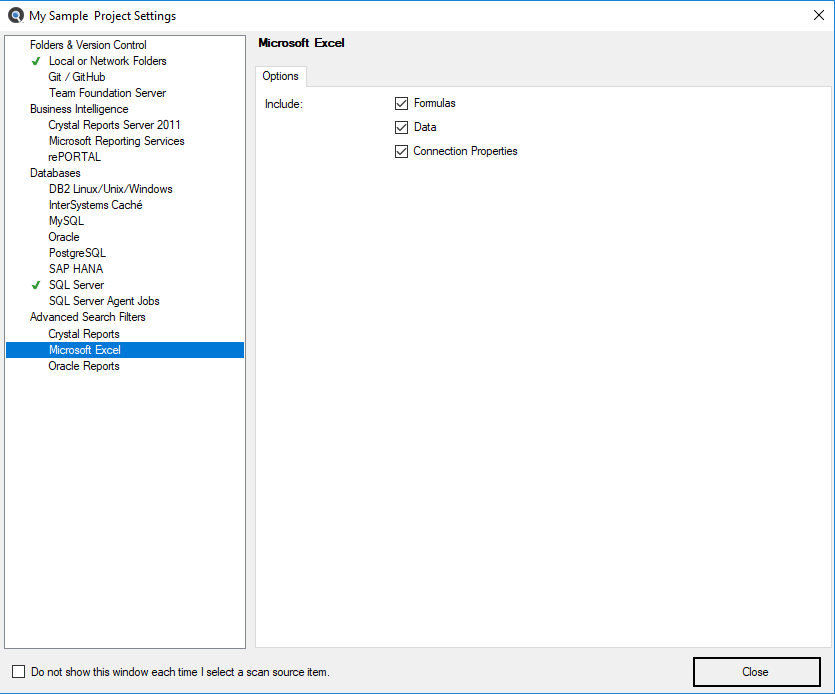
Microsoft Excel Search Options
Note that when the Microsoft Excel source is selected, you are able to select from the following Search options to optimize search performance and reduce false-positive matches:
- Formulas - include cell formula content
- Data - include visible cell data content
- Connection Properties - include Excel workbook datasource connection information
To include content from these items, click to check the preceding check-box (un-check to exclude).
Add or Remove File Extensions Searched
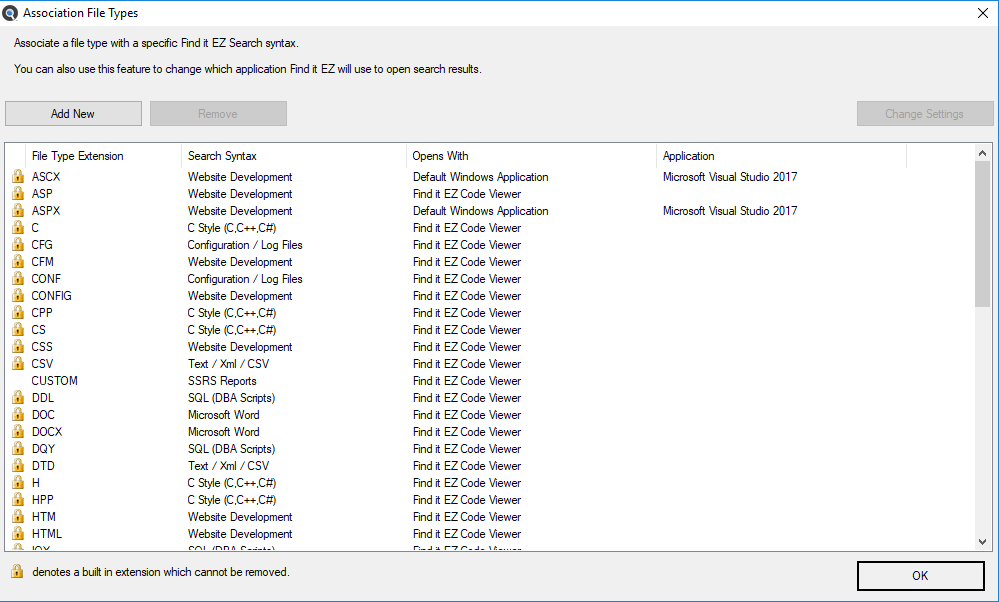
You may add custom file type extensions to be searched using the menu, which will launch the Associate File Types dialog as below:
- To add a file extension (where applicable):
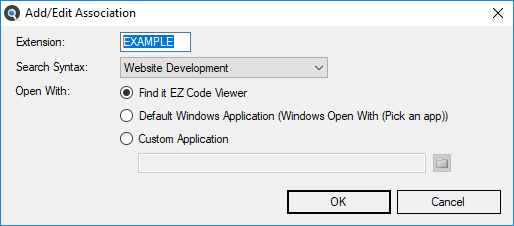
- Click on the button. A dialog will appear (see below).
- Enter the name of the new file extension (without the leading ".").
- Select the Search Syntax applicable to the contents of files saved with this extension.
- Chose an Open With option to associate your preferred file viewer / editor with this new extension. The default is the built-in Find it EZ Code Viewer.
- Click on the button. The new file extension will be added to the Associate File Types list.
- To remove a file extension:
- In the Associate File Types list, click to select the custom file extension you want to remove.
Click on the button. The selected file extension will be removed from the list.
Alert: You will not be able to remove any of the standard default file extensions associated with each Document type. These built-in file types are indicated with a lock
 icon.
icon. - To apply your changes, click on the button.