Document Wizards
This section takes you through each step required to use the Document Wizards: launch the wizards (two ways), create or select a project, select file types to include, select file location(s), enter connection information, select recurrence and what to include, and choose report options and export report.
Launch a Document Wizard
The DOCUMENT Wizards can be launched via the button or via the main menu. See below:
- Launch a DOCUMENT wizard via the button:
Click on the button in the search bar. See below:
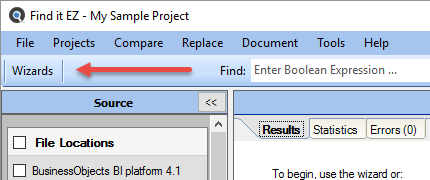
- Click to choose one of the following DOCUMENT Wizard options:
- Extract database objects (tables, stored procedures, views, etc.) used in my reports
- Generate detailed content documentation for my reports
- Extract all SQL code used in my reports
- Create a database cross-reference for my reports
- Create a list of all my reports, including printer and update information
- Create a list of all my schedules inside Business Intelligence server
- List the security for my documents inside a Business Intelligence server
- List all users and their security groups inside a Business Intelligence server
OR
- Launch a DOCUMENT Wizard via the Find it EZ menu:
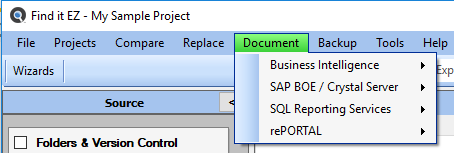
- Click on the button to continue.
-
The selected DOCUMENT Wizard will open.
Note: The following example is the DOCUMENT Wizard for an SAP BI Platform schedule listing, which is only available in our Dev Surge 365 product edition. However, most of the steps and dialog boxes presented in this example are virtually identical for the other Document Wizard options.
Select Recurrence and What to Include
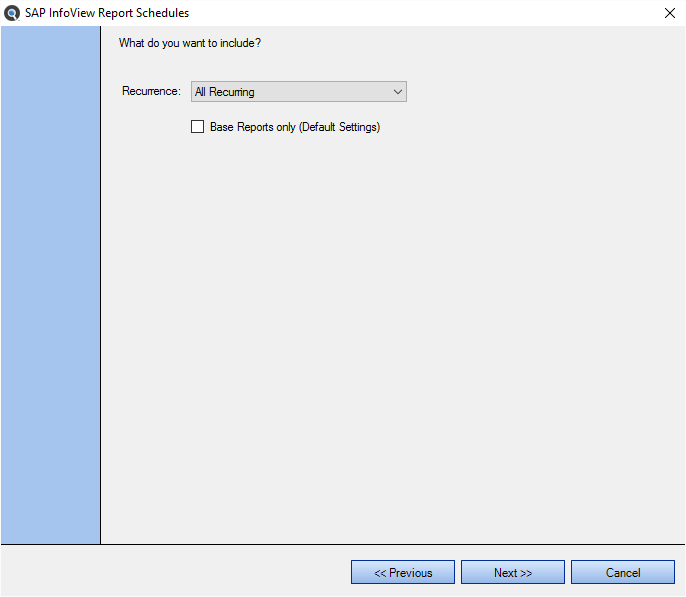
-
Click on the Recurrence drop-down. A list of options will appear, as below:
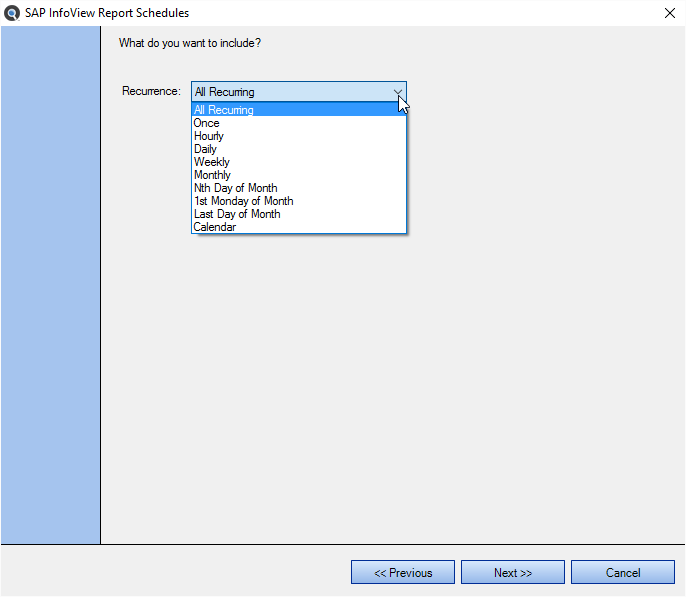
These are items that match up to selections in the SAP BI Platform repository schedule frequency options.
- Click to select the desired recurrence.
-
If you want to show the default settings, click to check the Base Reports only check-box.
Note: Crystal reports has "Default Settings" and "Per Instance Settings." Default settings belong to the report itself (the base report) and then each time you schedule a report you can give the report its own schedule / settings. This allows you to just return the defaults as you may have a large number of one-time scheduled reports that will never be run again. - To continue, click on the button.
Choose Report Options and Export Report
The following dialog is used with the Export Wizard. See example below:
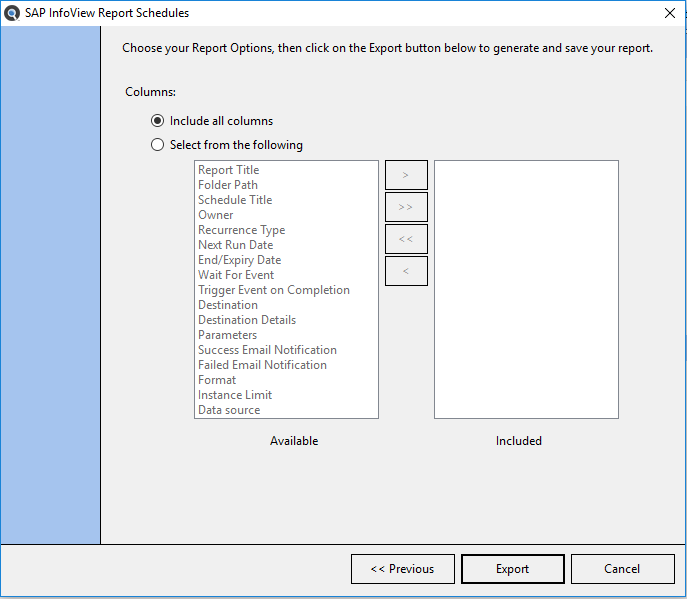
- In the Columns section, choose to Include all columns or to Select from the following.
- IF the second option is chosen:
- In the Available list, click to select the report column you want to include, then click on the button to move the selected column to the Included list.
- To move all columns from the Available list to the Included list, click on the button.
- To remove all columns from the Included list, click on the button.
- To remove a single column from the Included list, click to select the report column you want to remove, then click on the button.
- Once complete, click on the button to generate and save your report. The Searching dialog will appear.