Database Examples
Search an Oracle Database
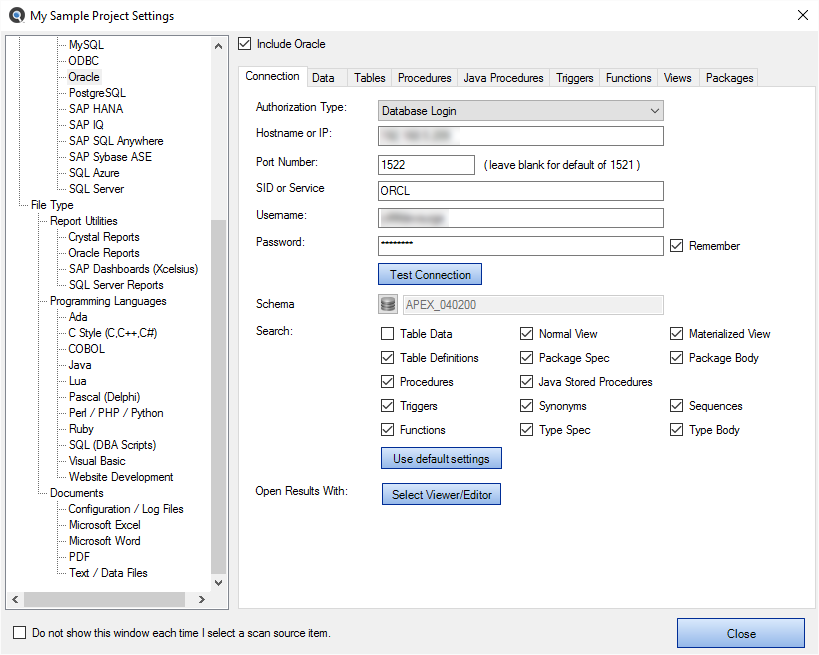
- From the Source frame on the left, click to check Oracle in the Databases category.
-
Configure settings. See example below:
-
Click the Options button on the search bar, choose the desired
Note: Default search Options are:Tip: For better search performance, click to check the Use pre-indexed documents. This will use the last indexed document content and therefore will not refresh content with latest updates. Use this filter if it is known that the source documents are changed infrequently or have not changed since the last Find it EZ project indexing.
-
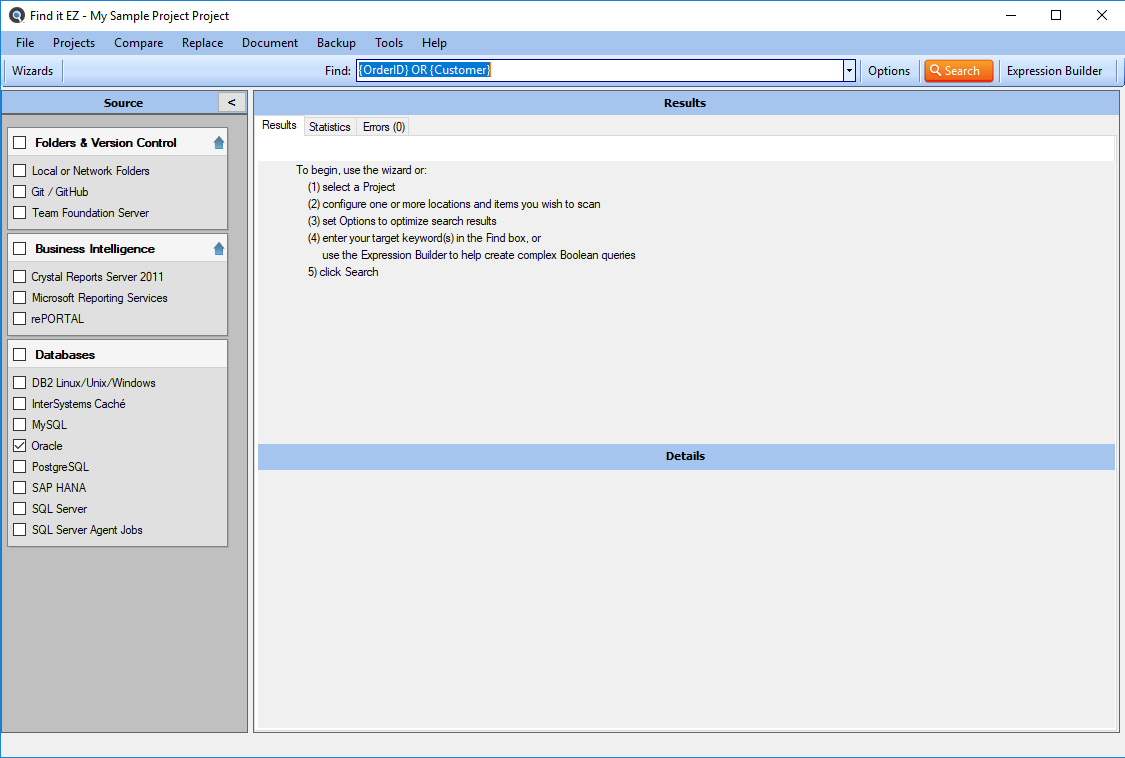
On the search bar (see image below), enter the desired search text into the Find text box.

-
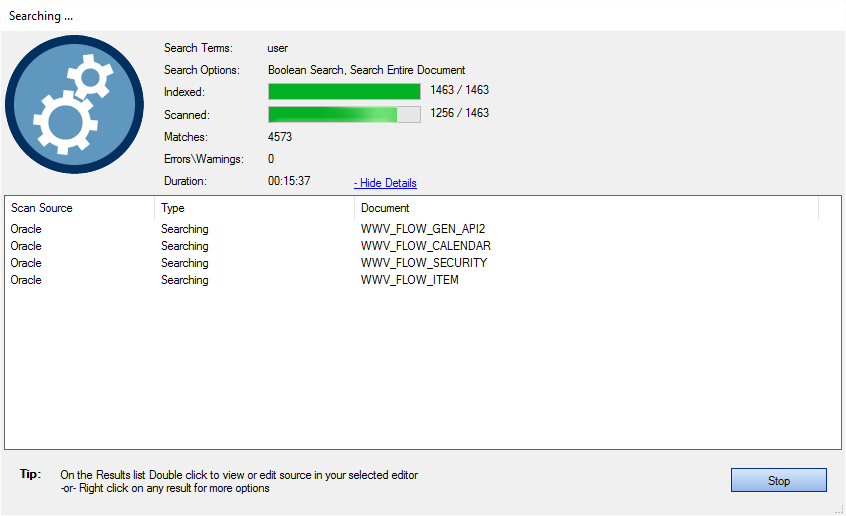
Click on the button to initiate the search. A Searching dialog box will appear, showing the status of the search. See example below:
-
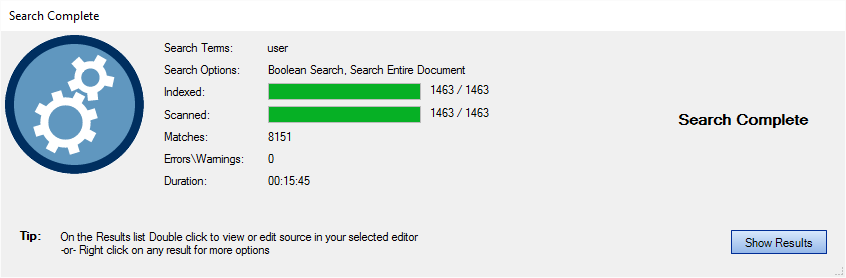
Once complete, the Search Complete dialog box will appear.
-
Click on the button. A list of results matching your search criteria will appear in the Results frame. See example below:
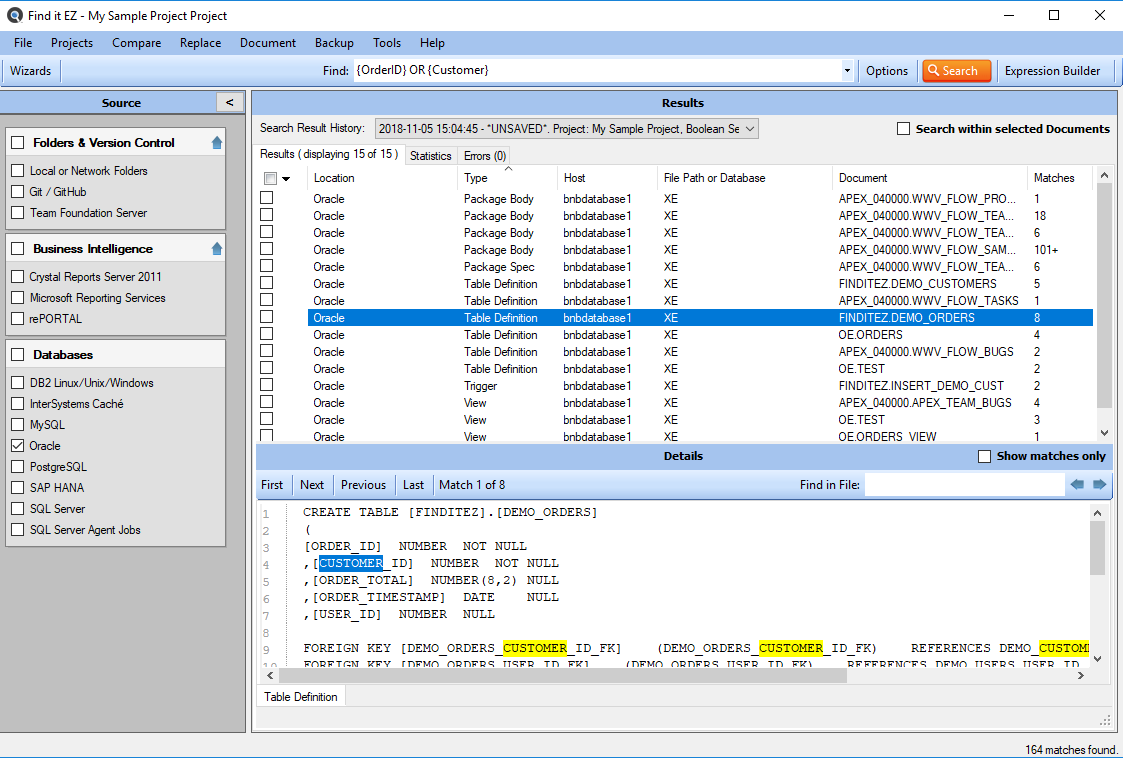 Note: After performing a search, settings can be saved to a Project for later use again.
 - To view details for a result, click on a row in the Results window. Details will appear in the Details window. See example above.
-
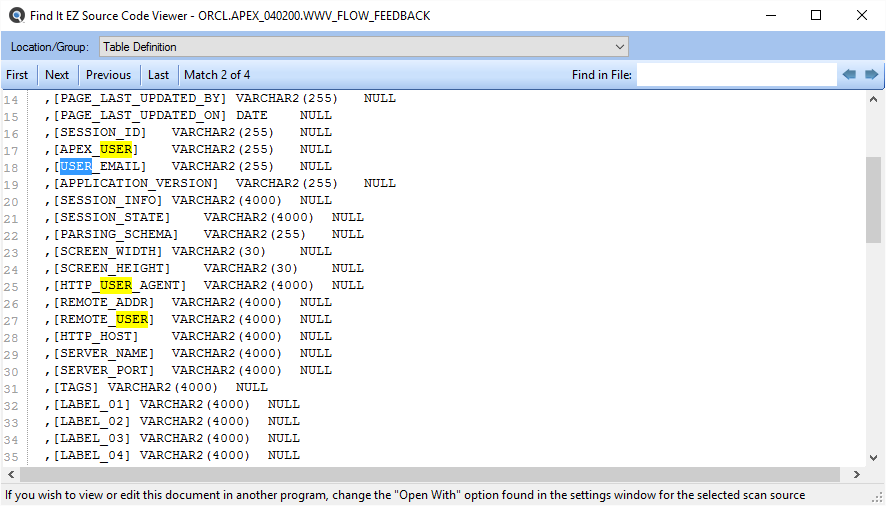
To view the source file, right-click on a detail line and select from the context menu. See example below:
Search a SQL Server Database
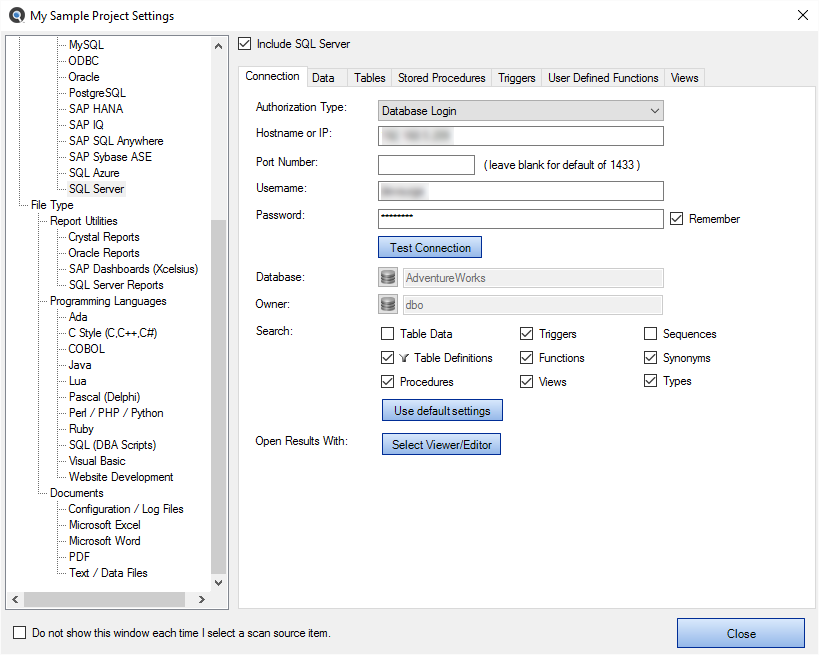
- From the Source frame on the left, click to check SQL Server in the Databases category.
-
Configure settings. See example below:
-
Click the Options button on the search bar, choose the desired
-
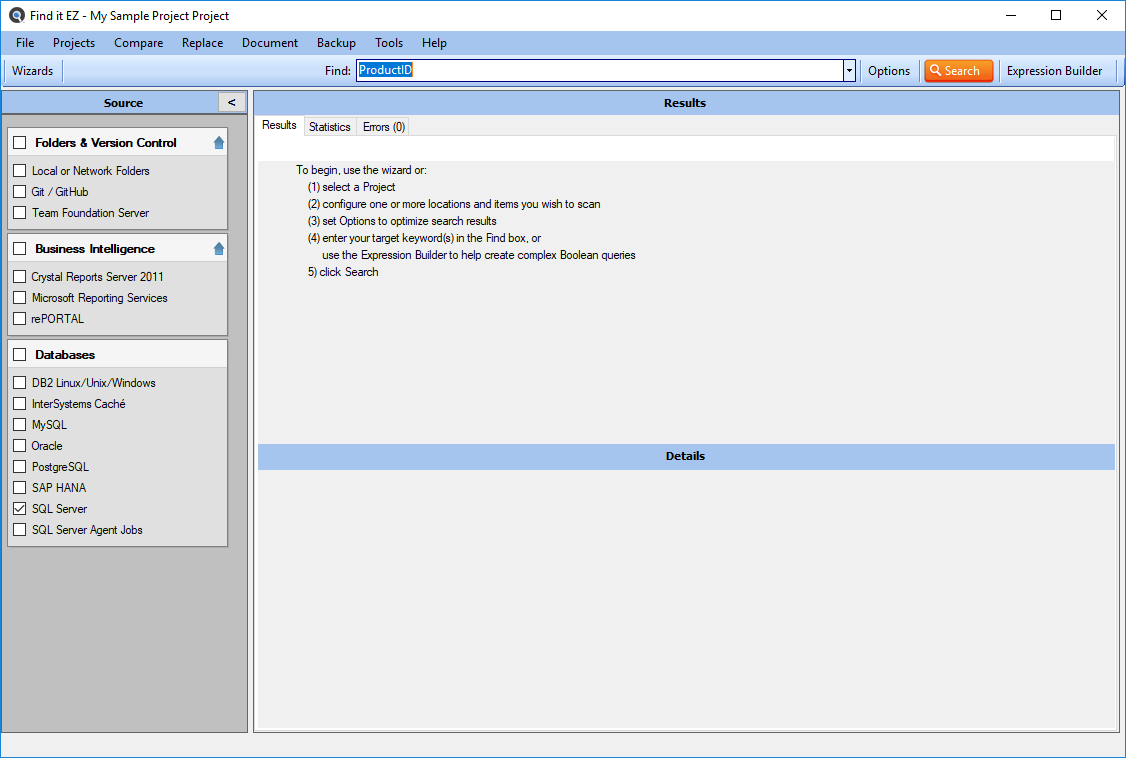
On the search bar (see image below), enter the desired search text into the Find text box.
-
Click on the button to initiate the search. A Searching dialog box will appear, showing the status of the search. See example below:
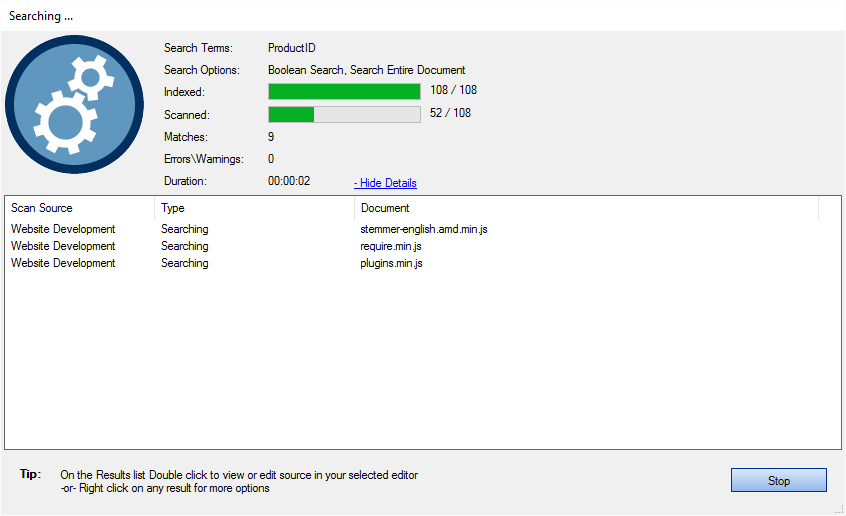
-
Once complete, the Search Complete dialog box will appear.

-
Click on the button. A list of results matching your search criteria will appear in the Results frame. See example below:
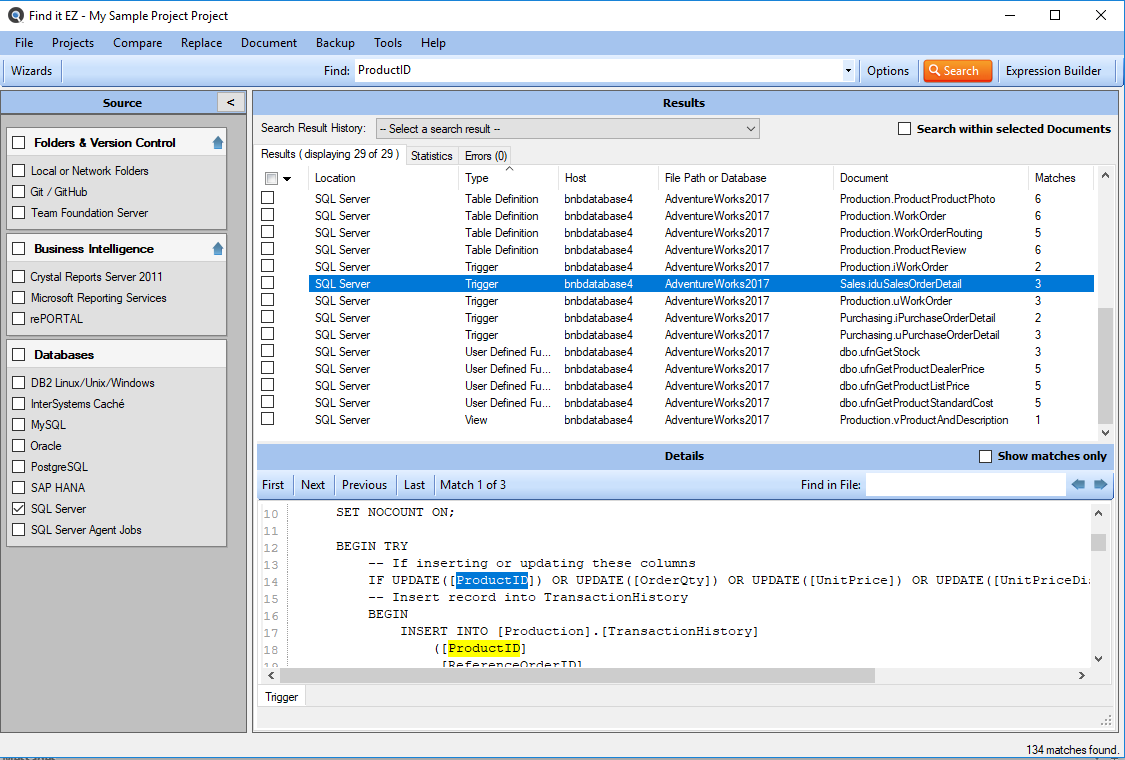 Note: After performing a search, settings can be saved to a Project for later use again.
 - To view details for a result, click on a row in the Results window. Details will appear in the Details window. See example above.
-
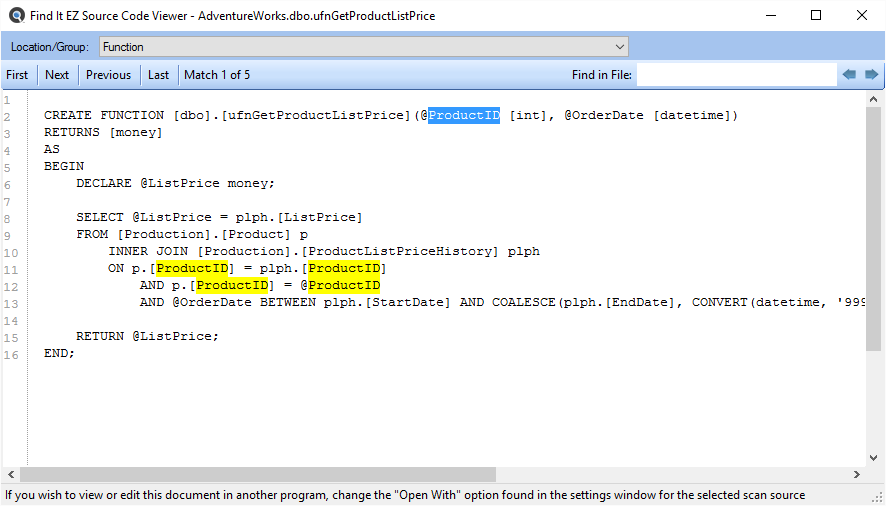
To view the source file, right-click on a detail line and select from the context menu. See example below:
Tip: For better search performance, click to check the Use pre-indexed documents. This will use the last indexed document content and therefore will not refresh content with latest updates. Use this filter if it is known that the source documents are changed infrequently or have not changed since the last Find it EZ project indexing.